After finding the perfect gift, it’s time to elevate its presentation with beautiful wrapping. A thoughtfully wrapped present adds an extra layer of joy and anticipation, communicating your care and excitement for the recipient. But let’s face it, not everyone is born with the knack for wrapping.
If you’re wondering how to wrap a gift so it looks like it came straight from a professional, you’re in the right place! This guide from Oh Canvas will give you simple steps to transforming ordinary gifts into extraordinary presentations, whether you’re wrapping a birthday present, a holiday surprise, or just a little something special.
What you’ll need to wrap a present
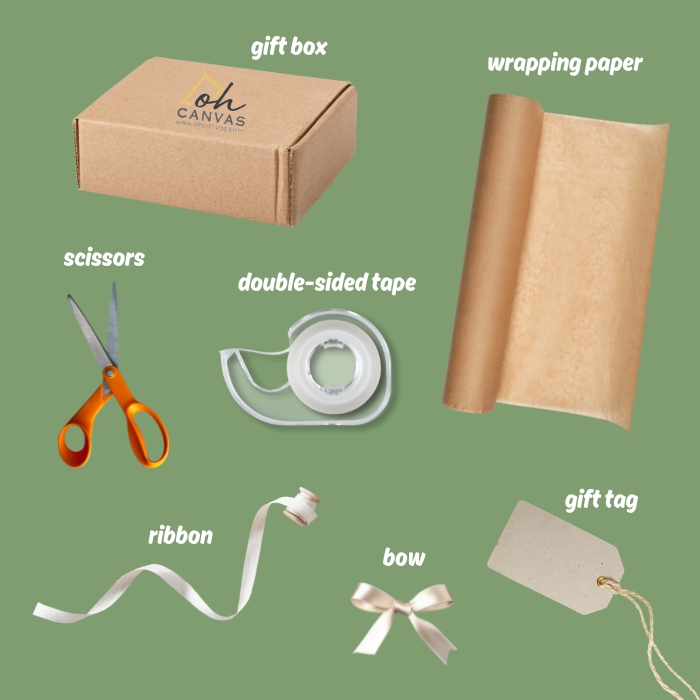
Essential supplies
- Scissors: A sharp pair of scissors is crucial for clean cuts and precise edges.
- Tape: Clear tape is ideal for invisible seams. Use double-sided tape or patterned washi tape to secure ribbons or embellishments for a decorative touch.
- Wrapping paper: Choose from a variety of colors, patterns, and textures to suit the occasion. Consider using heavier-weight paper for sturdier wrapping, or opt for recycled or eco-friendly options for a sustainable choice.
Optional supplies
- Gift box
- Ribbon
- Gift tags
- Bows
- Tissue paper
>>> Do you know how to make a gift box with paper and cardboard?
How to wrap a gift box step-by-step
Step 1: Prepare gift-wrapping materials.
Before you start, gather your materials: the present, wrapping paper, scissors, and tape. To make things easier and more organized, consider creating a gift-wrapping station with a spacious, flat workspace, like a table or countertop.
Don’t forget to remove any price tags. It’s generally considered bad manners to leave them on, as the recipient shouldn’t be concerned with the cost of the gift. If a sticker is stubborn, simply cover the price with a black marker.
Step 2: Place the present in a box
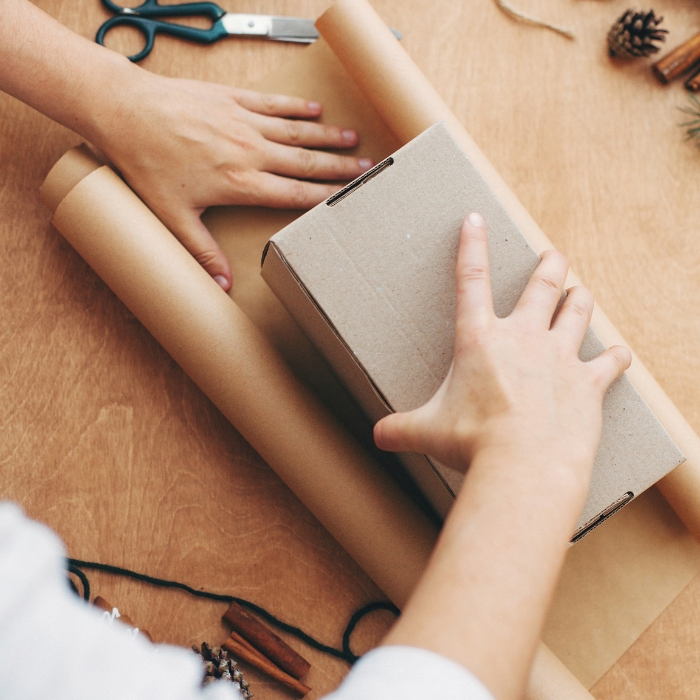
It’s much easier to wrap something in a square or rectangular shape. For odd-shaped items like stuffed animals or clothes, try placing them in a box first. You can find gift boxes at most stores that sell wrapping paper or repurpose an old box from around your house, like a shoebox.
To keep your gift secure, seal the box with tape before you start wrapping. This will prevent it from opening accidentally while you’re working.
If you’re wrapping anything fragile, make sure it’s well-padded and won’t shift around inside the box. Tissue paper is a great option for this.
Step 3: Take measurements and cut paper
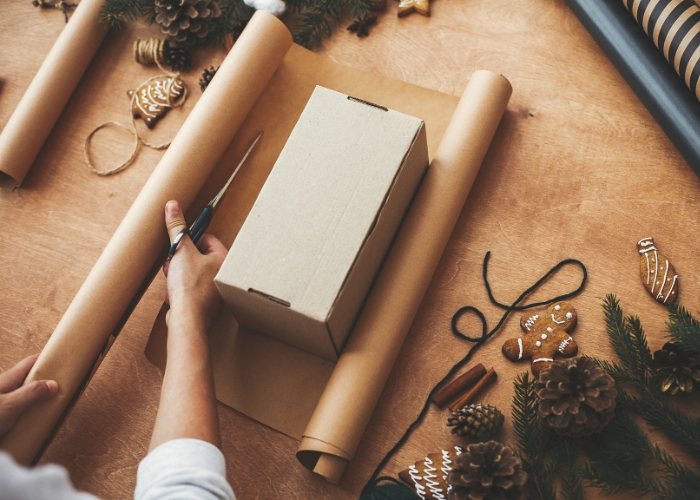
Unroll your wrapping paper, ensuring you have enough paper to cover all sides of the box. Lay the box upside down in the middle of the paper, making sure the paper’s seams will be hidden underneath. Bring one side of the paper up and over the top of the box, folding it down to meet the opposite edge. Assess how much more paper you’ll need to cover both sides, then cut it, aiming for a clean, straight line.
Step 4: Wrap the paper around the box
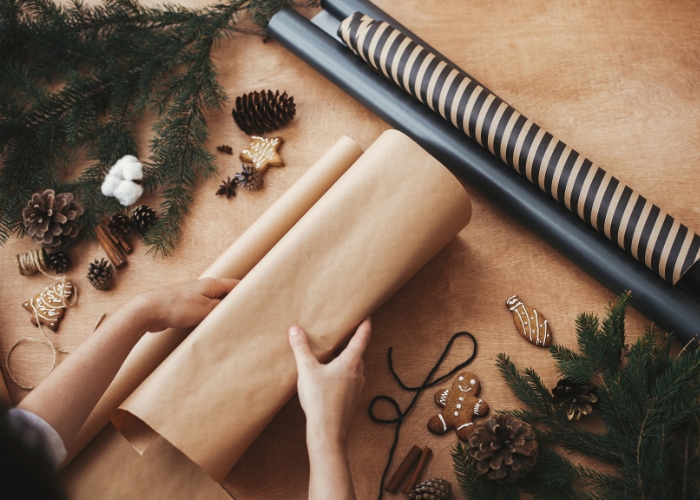
Secure one side of the paper over the box by gently pulling it taut and fastening it with a piece of tape along the center edge. Then, bring the other side of the paper over the box, overlapping the first side, and secure it with tape, making sure the edges align neatly for a polished look.
Step 5: Create crease folds
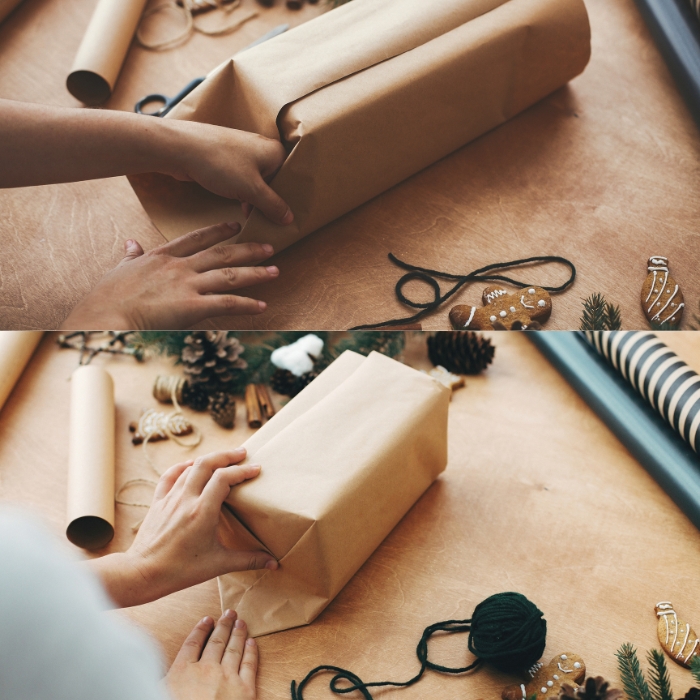
Begin at one end of the box and fold the top flap down onto the side, creating four 45-degree-angle flaps. Press two of these flaps inward, flat against the box, to make crisp corners.
Then, fold the remaining triangular piece of paper up and over the edge of the box. Use tape to secure everything in place. Turn the box around and repeat these steps on the other side to complete the wrap.
Step 6: Add ribbon
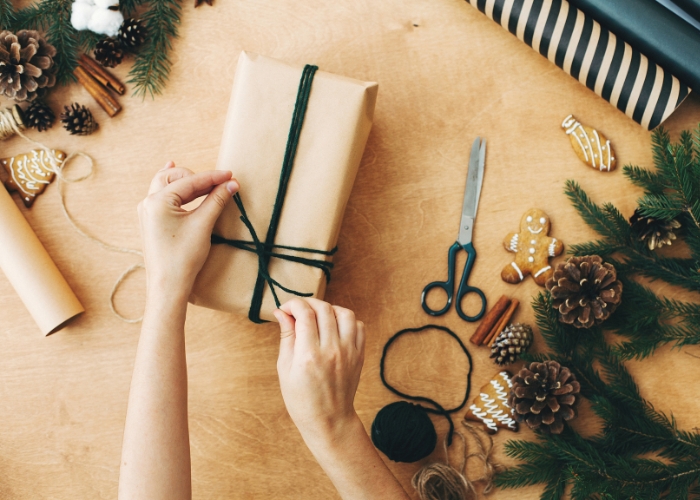
To add the finishing touch, place the box facedown on a long piece of ribbon. Pull both ends of the ribbon up and over the box, crossing them in the center.
Then, flip the box over so it’s right-side up again. Weave the ribbon ends under the loop you just created and tie a bow in the middle for a beautiful presentation.
Consider wrapping the ribbon around the box a few times or tying a large, eye-catching bow for an extra special touch.
Step 7: Embellish with gift toppers
Enhance your gift by adding decorative touches like artificial flowers, ornaments, or a charming label that you can personalize. For an extra touch, tuck in a handwritten note or gift card to express your heartfelt sentiments. These small additions will make the gift feel more special and show the recipient how much you care.
How to wrap a gift without tape
Have you ever found yourself without a box or tape when it’s time to wrap a gift? Or perhaps you’re looking for a more sustainable way to present your presents? If either of these resonates with you, I’d love to share my go-to gift-wrapping method: Furoshiki. This is a beautiful and sustainable Japanese wrapping technique.
All you need to get started is a square piece of fabric – think a scarf, bandana, or even a cloth napkin. Choose one that complements your gift and the occasion, making sure it’s the right size for the item you’re wrapping. Once you have your fabric ready, simply follow these easy steps:
- Lay the fabric flat and place the gift in the center.
- Bring two opposite corners of the fabric together and tie them in a secure knot over the top of the gift.
- Bring the remaining two corners together and tie another knot, adjusting the fabric to ensure the gift is snugly wrapped.
- Adjust the fabric and knots to secure the gift.
- Optional: Add a decorative element like a sprig of greenery or a cinnamon stick.
How to make a gift bag out of wrapping paper
Are you running out of gift bags? No problem! Get creative and transform leftover wrapping paper into a charming and eco-friendly gift bag with this easy DIY guide. It’s a great way to add a personal touch and reduce waste. Here are the instructions to help you create a gift bag like a professional:
- Measure and Cut: Start by cutting a piece of wrapping paper large enough to cover your gift, with about an inch of excess on all sides.
- Create the Sides: Fold the paper in half lengthwise, ensuring one side overlaps the other by half an inch. Secure this overlapped edge with tape to create the sides of your bag.
- Create the Bottom: Fold the bottom edge of the paper upwards, leaving enough space to comfortably accommodate your gift. Then, flatten the corners to form two triangular flaps on each side.
- Secure the Base: Fold the opposite edges of the bottom flap towards the center, overlapping them, and secure them with tape to create the base of your bag.
- Fill and Decorate: Gently open your DIY gift bag and place your present inside. Fold the top edges down and decorate as desired with string, ribbons, or even festive ornaments. For an extra touch, punch two holes near the top and thread a ribbon through to create a closure and a beautiful bow.
>> Read more:
- Gift Wrapping Mastery: How to Make a Gift Bag Like a Pro
- Beyond Cash: 30 Creative Ways To Give Money As a Gift
- How To Clean A Canvas Print & 10+ Ways To Save Your Canvas
Now that you’ve learned how to wrap a gift beautifully by following these step-by-step instructions, why not take your gift-giving to the next level? Explore other articles from Oh Canvas on creative gift ideas, DIY gift boxes, and unique canvas styles. Remember, it’s not just the present inside that matters; it’s the thought and effort you put into presenting it.


