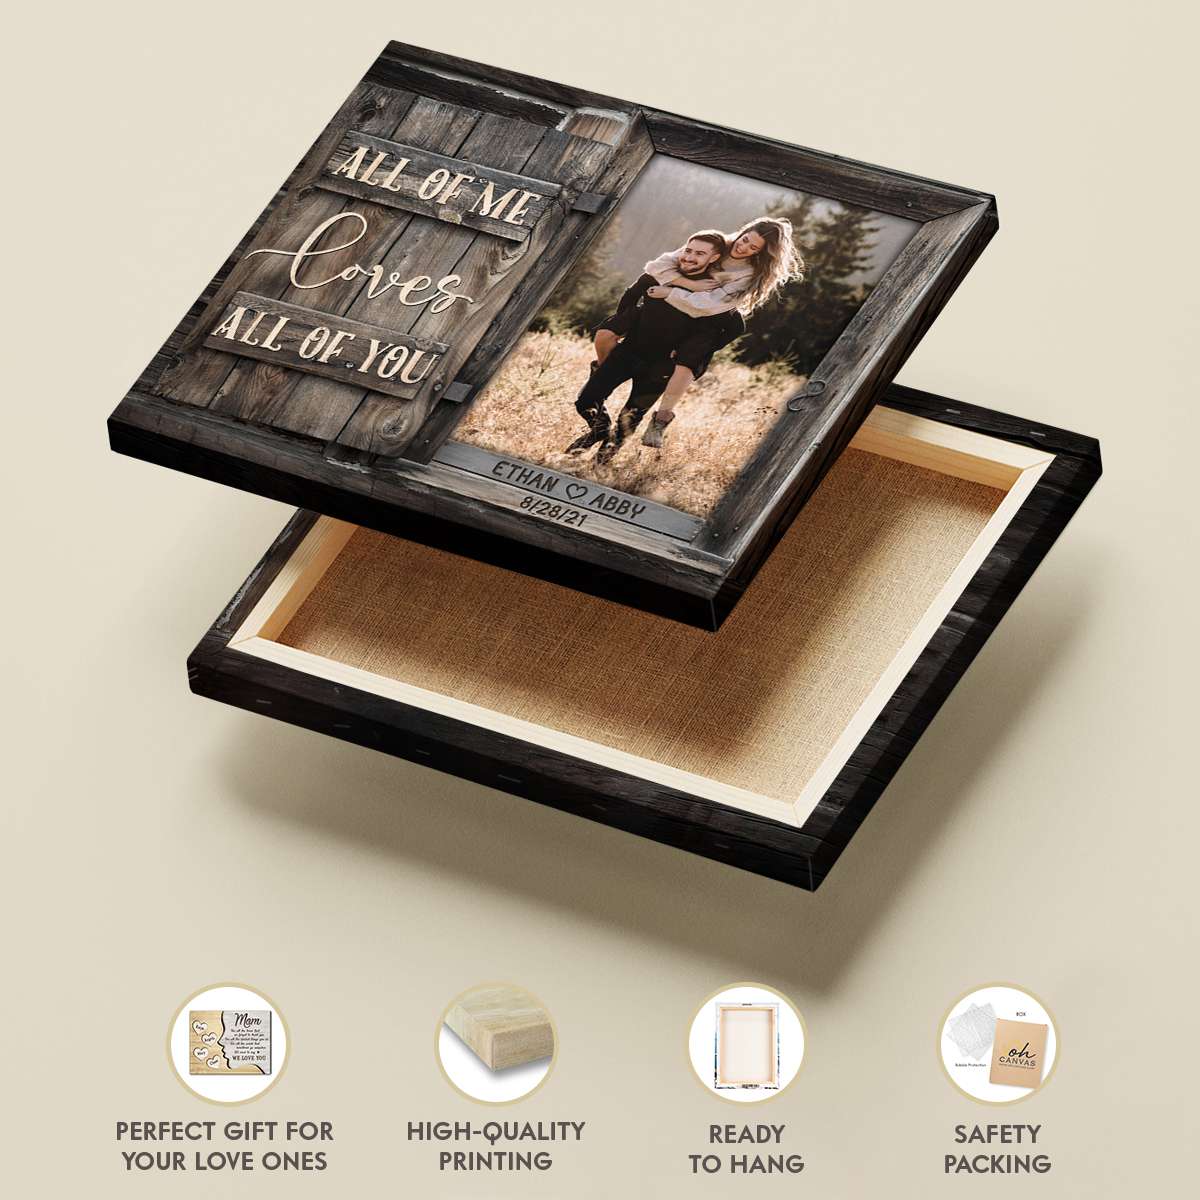
How to frame canvas art properly is one of the challenges of creating DIY canvas art. We’ll be showing you all the tactics and ideas below on how to frame a canvas art piece at home if you’ve been looking to do so on a tight budget. Your one-of-a-kind canvas artwork or specialized print will have a professionally framed canvas look thanks to the step-by-step instructions we’ll offer.
All You Need Before Framing Canvas Painting
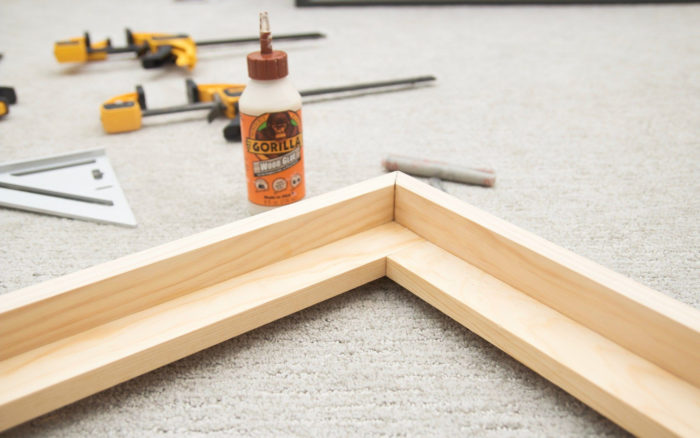
– Wood: The lengths you require are solely based on the dimensions of your frame. For assistance calculating how much wood you require, consider step 1 below.
– Hardware: Finishing Nails for Wood; Hardware for Hanging (optional)
– Paint, or wood stain (the colors you want)
– Wood Filler (optional)
– Tools: Measurement tape; Toolbox and Saw
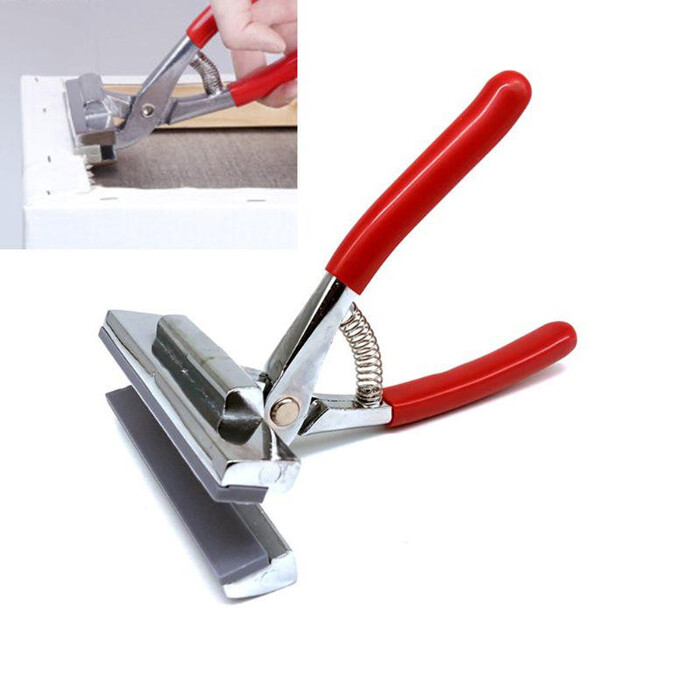
– Basic Clamps
– Sandpaper, a band clamp sanding block, or a sander
How To Frame Canvas Art – 8 Basic Steps You Should Follow
We’ll get into the fundamentals of framing your canvas after you’ve gathered the supplies you’ll need.
Step 1: Determine Frame Dimensions
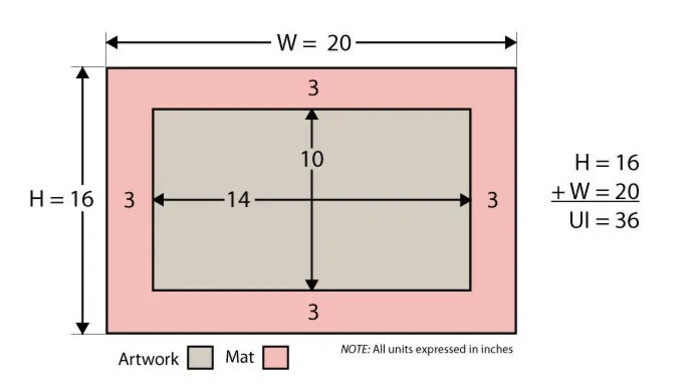
Calculating your frame measurements is the first and most difficult part of the entire project (at least it was for me!). This is due to the fact that in addition to the mitered joints (diagonal junctions), you also need to take the depth of the frame into consideration. Calculate the correct width and height dimensions for your specific canvas size AND framing preferences using the diagram below as a guide.
Step 2: Stain or paint the wood
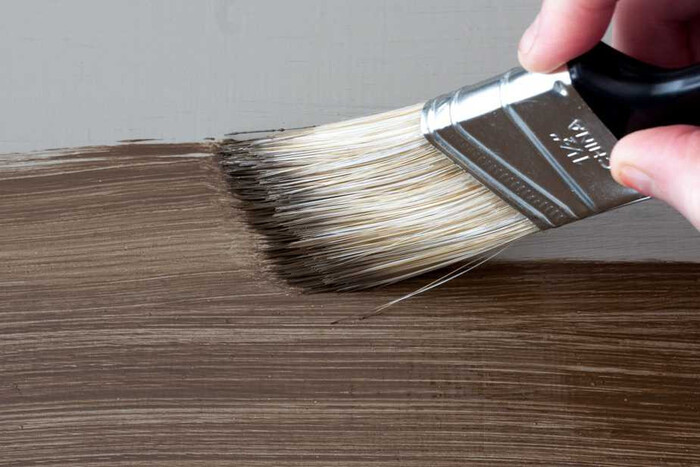
It’s more probable that you’ll need to conduct touch-ups if you paint before assembly, as the finish is vulnerable to scratches. After assembly, painting or staining will give you a better finish, but it may involve a lot of taping, masking, and waiting for coats to dry (especially for a two-toned look).
We advise priming the wood with paint or stain (and doing touch-ups as needed after assembly). As a result, before (yes, before) you cut your wood pieces apart, begin by painting or staining each piece in your desired colors.
Step 3: Assemble the Frame and Inlay Pieces
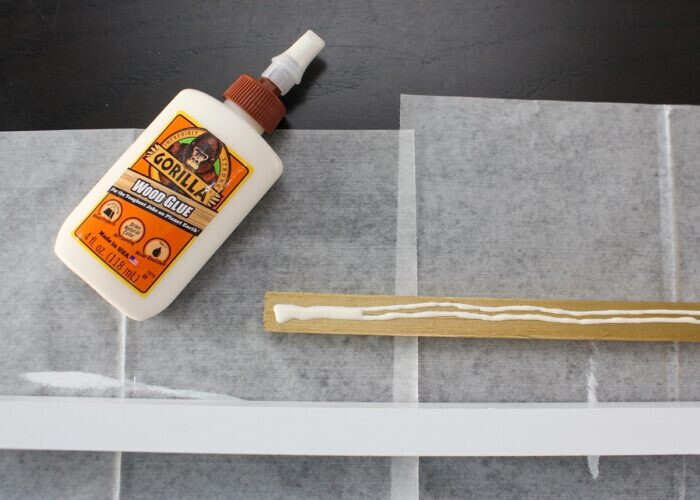
Cutting multiple pieces of wood to the same lengths can be exceedingly challenging if you are new to DIY and/or don’t have really accurate power tools. Therefore, we advise adhering the inlay pieces to the outside frame parts first (before you trim them down to the right size). By doing this, you can make sure the two layers are tightly coiled around the frame.
To the inside bottom border of the white 1x2s, glue the gold trim using gorilla wood glue. Use clamps to keep everything firmly together while the glue cures once it has been bonded and placed.
>>> Do you know how to clean a canvas print properly?
Step 4. Cut the frame pieces
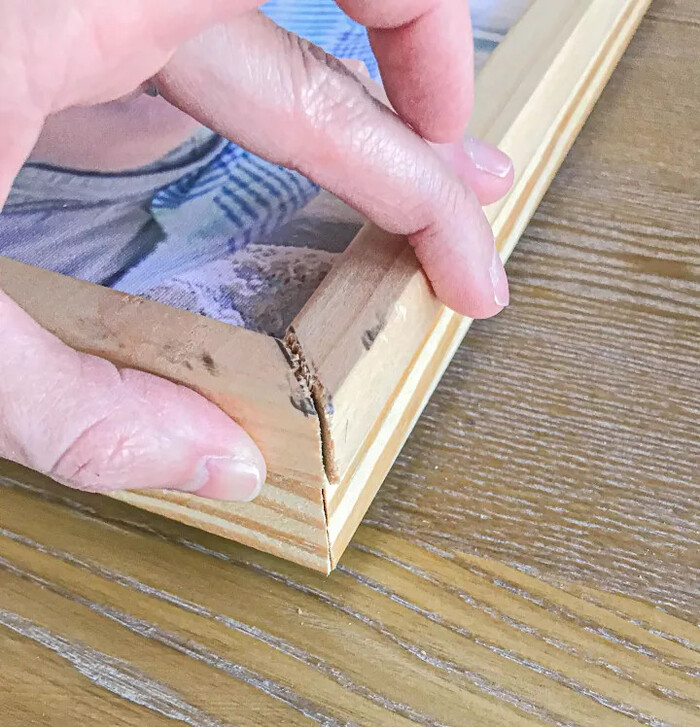
Next, reduce each length of the frame (the combined white and gold pieces) to the precise dimensions noted in Step 1 using a miter box and saw. Make sure the white frame piece is longer than the gold by 45 degrees when you cut the 45-degree angle ends. After cutting, use a sanding block to sand the freshly cut edges to make them as flat and smooth as possible on both sides.
TIP: Getting your lengths absolutely correct around your frame can be challenging if you are new to cutting mitered corners (or if you’re not excellent at arithmetic like me). In order to fit each side to your canvas as you go, I advise cutting each length a little bit longer than you need. Even though you might need to repeatedly go back and make new cuts, doing so will guarantee that your frame components match up and hug your canvas just properly in the end (versus being too big or too small).
Step 5. Glue the frame together
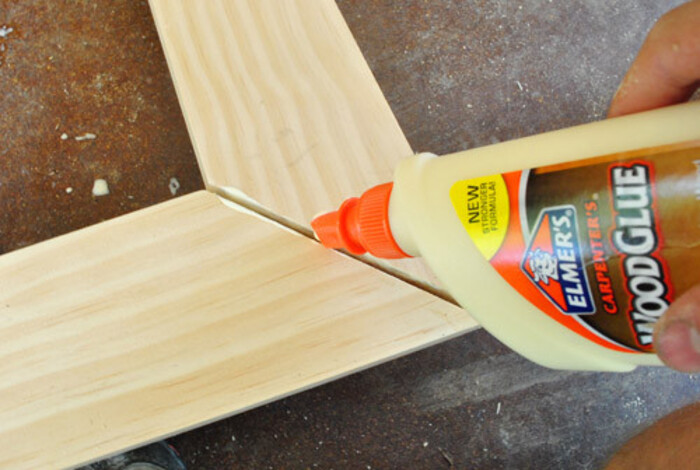
Place wood glue at each corner junction and then tighten the complete frame with a band clamp after trimming each side of the frame to precisely fit the canvas (not shown). Make sure to brush away any adhesive that leaks before drying once more.
Fixing the frame as a whole
Once the wood has dried, you might be tempted to use flat L-brackets around the back of the frame as corner bracing or lightly tap finishing nails into the corners. Although you can, I don’t believe it is required.
At first, we had serious doubts about whether the wood glue would hold the frame together securely. But it unquestionably was. This frame hung flawlessly on our walls for more than two years without the need for additional nails at the corners, and it was moved twice without suffering any harm.
Step 6. Fill Corner Seems
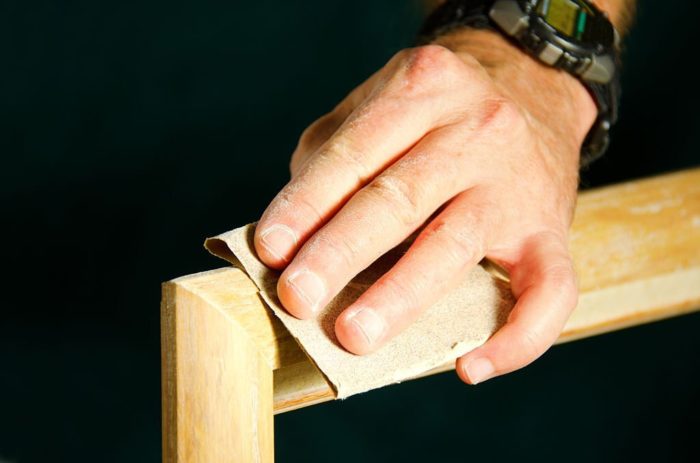
If the mitered corner seams around the front of the frame bother you, you can fill them in with wood filler, sand them smooth, then touch up the paint to make them less obvious.
We opted not to bother filling the seams, and after the canvas frame was put on the wall, it was hardly evident.
>>> Maybe you’re curious about: What Is A Canvas Print – Enduring Trend In The 21st Century
Step 7: Attach the canvas to the frame
The canvas’s frame needs to be attached to it in the last stage. Two strategies exist for doing this:
From the exterior
Finishing nails from the outside of the frame can be softly tapped into the canvas. However, doing so will expose the nails on the outside of the frame, which you will need to sink, then fill in with wood filler and paint over.
From the inside
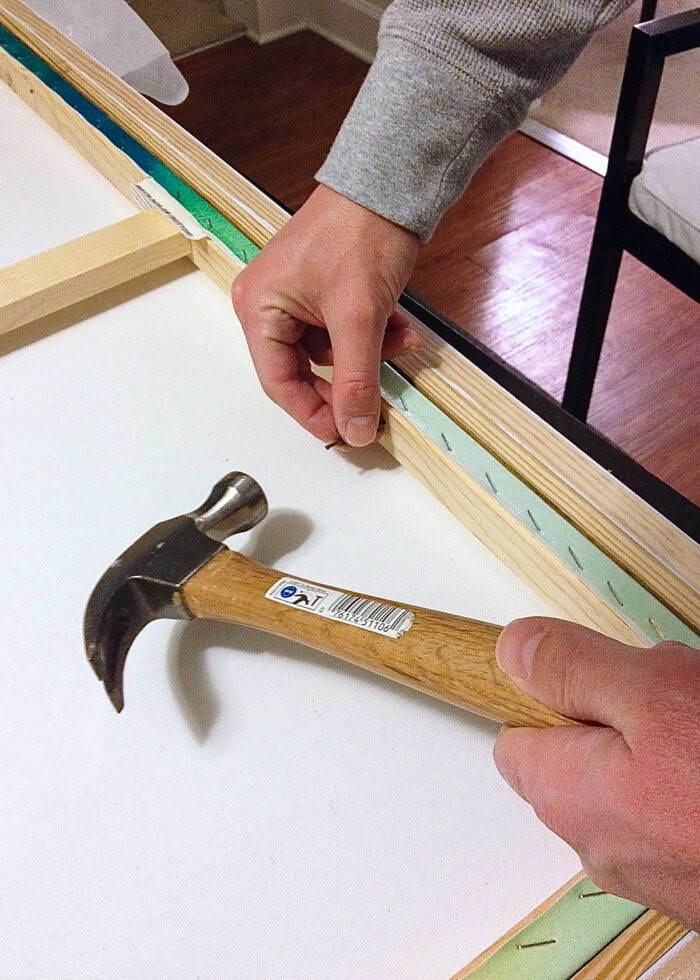
As an alternative, you can turn the entire frame and canvas combination over and hammer nails into the sides of the frame from the inside canvas. If you decide to use this technique, be careful to hammer the nails into the rear of the frame (the edge that will rest against the wall) so they are hidden from view.
Step 8: Add Hanging Hardware (Optional)

If necessary, add some hanging hardware as the last step. The canvas we used was large and light enough to rest conveniently on a few nails on the wall. You can attach certain picture hangers or D-rings to the top, sides, or back of a shallow or hefty frame, though.
>>> Read more: 6 Best Ways To Fit Your Wall Decor – Wall Art Size Guide
FQA about How To Frame Canvas Art
1. What is a framed canvas?
A framed canvas print is one that has the image printed directly onto the canvas with either a glass frame or none at all. The size and shape of the wall art influence the choice of frame. You can choose the color of the frame to complement your decor—it might be black, white, brown, or colorful.
2. Can you put a rolled canvas in a frame?
Before framing a canvas print or painting that you bought in a rolled state, the canvas must be stretched. It may seem paradoxical to roll a painting with the paint on the exterior, but doing so lessens the tension on the paint and lowers the likelihood of cracking.
3. Do canvases look better framed?
If you want to create a striking, contemporary aesthetic, framed canvas prints are an excellent choice. Canvas prints, whether framed or unframed, may be quite eye-catching, especially for large-scale artworks. Depending on the type of frame you select, traditional framed prints often have a more traditional and subtle appearance.
>>> Maybe you’re interested:
- 9 Type Of Canvas Sizes – Ultimate Guide For Your Home Decoration
- How To Hang Canvas Art: A Detail Step-by-Step Guide
We hope this “How to frame canvas art” article gives you the confidence to try making your own frame if you have a canvas hanging in your home and suspect it needs one. You can save a lot of money (particularly on large frames) by making your own. But even better, you’ll receive a double reward: a gorgeous work of art for your house and great pride in having created it yourself!


